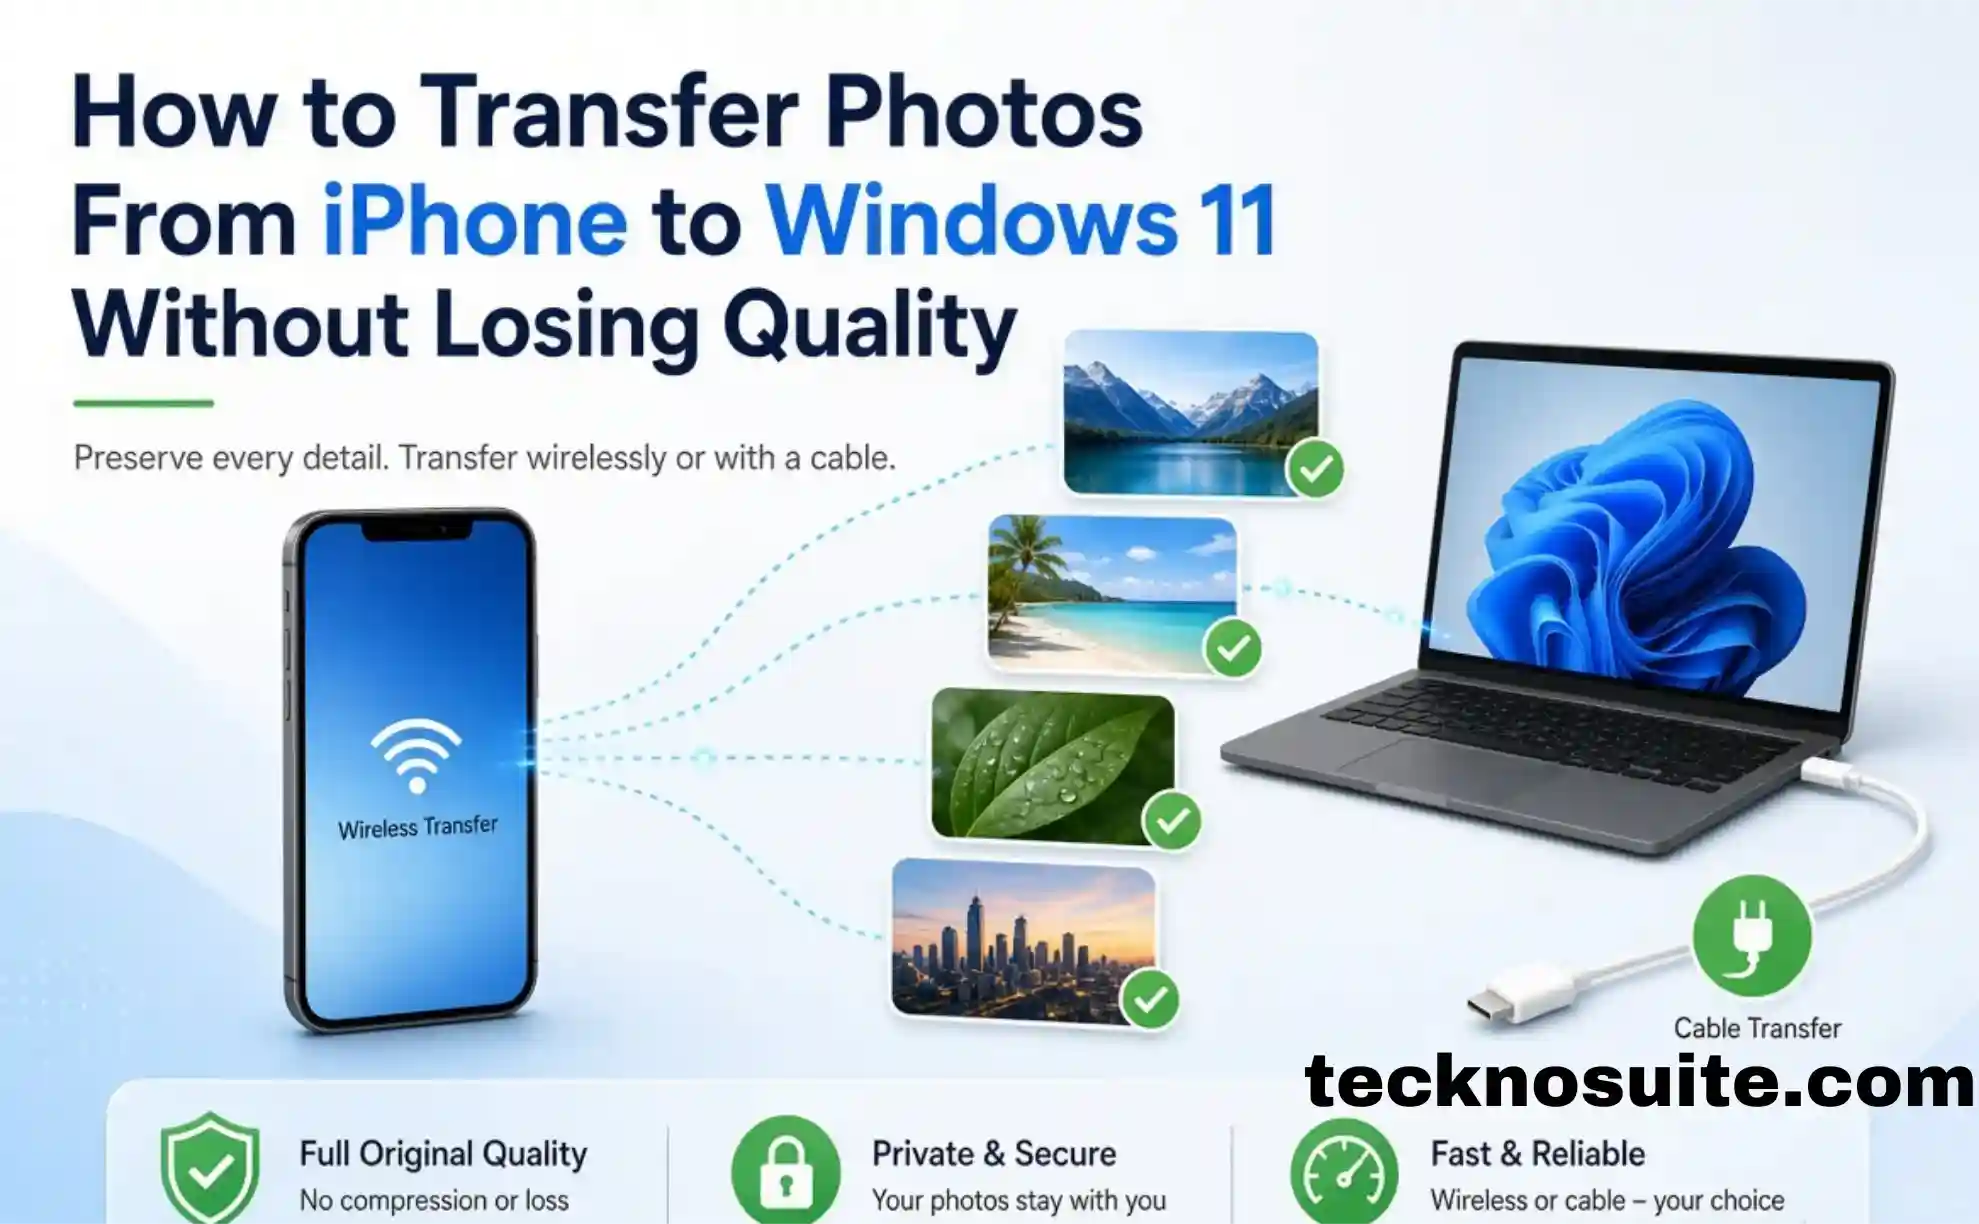
Moving photos off an iPhone onto a Windows 11 PC sounds like it should be complicated, especially if keeping the original quality matters to you. It really isn’t — Windows and iPhone both support several straightforward methods, from a simple USB cable to iCloud and OneDrive, without needing any extra software.
Here’s how to move your photos over cleanly, and how to avoid the quality loss that trips a lot of people up.
Why Photo Quality Sometimes Changes
iPhones typically store photos in HEIF/HEIC format, and how Windows apps handle that format can vary. Quality tends to drop specifically when photos are sent through messaging apps, shared via social media, compressed before transfer, converted to another format, or downloaded as an “optimized” version rather than the original.
If keeping the original matters, the fix is simple: use a method that transfers the actual file, not a compressed copy of it.
Method 1: Transfer With a USB Cable
The most reliable option, and it doesn’t need an internet connection — good for large batches of photos.
- Connect your iPhone to your PC with a compatible USB cable.
- If your iPhone asks whether you Trust This Computer, unlock it and confirm — you may need your passcode.
- On your PC, open the Photos app and look for the import option for connected devices, then select your iPhone.
- Windows scans for available photos and videos — select what you want, or grab everything.
- Choose a save location and start the import, keeping your iPhone connected until it finishes.
USB is worth using specifically when you’ve got hundreds of photos, large videos, a slow connection, limited cloud storage, or you just want the original-quality files without any compression in the pipeline.
Method 2: Transfer Through File Explorer
You can also browse your iPhone’s photo storage directly. Connect and unlock your phone, then in Windows go to:
File Explorer → This PC → Apple iPhone → Internal Storage → DCIM
You’ll find folders full of your photos and videos — select what you need and copy it over to a folder on your PC.
Don’t disconnect the iPhone mid-copy, and for a large transfer, keep it unlocked and plugged in until Windows finishes.
Method 3: Use iCloud Photos
Skip the cable entirely if your photos are already syncing to iCloud.
- On your iPhone, check Settings → [Your Name] → iCloud → Photos to confirm iCloud Photos is turned on (menu wording varies slightly by iOS version).
- On your PC, use Apple’s iCloud software or sign into iCloud through a browser with your Apple Account.
- Select and download the photos you want — grabbing the original files (not screenshots or compressed copies) preserves the real resolution and file info.
Method 4: Use iCloud.com Directly
If you just need a handful of photos, skip installing anything — go to iCloud’s website, sign in with your Apple Account, open Photos, and download what you need directly in the browser.
Method 5: Use Microsoft OneDrive
If you’re already a OneDrive user, install the app on your iPhone and turn on camera backup so photos upload automatically. From there, they’re accessible from OneDrive on your Windows PC too — convenient if you regularly move between an iPhone and a Windows machine.
Keeping the Original Quality Intact
Skip messaging apps. Many platforms compress photos on send — use USB, iCloud, or another method that preserves the original file if quality matters.
Don’t screenshot the photo. Transfer the actual file — a screenshot has different dimensions and image characteristics than the original.
Keep the original format. Don’t convert away from HEIC/HEIF unless you specifically need to — conversion can change file size and quality depending on the method used.
Use a reliable cable. For big transfers, a flaky cable or loose connection can interrupt things partway through.
What If Windows Can’t Open a HEIC Photo?
Some apps won’t open HEIC/HEIF files without help. Options: use an app that already supports HEIC, install Microsoft’s HEIF-related extensions where relevant, or convert a copy to JPEG if compatibility matters more than keeping the original format. If the original matters to you, hang onto the HEIC file before converting anything.
Which Method Should You Actually Use?
| Method | Best for | Internet required? |
|---|---|---|
| USB + Photos app | Large photo transfers | No |
| File Explorer | Direct file copying | No |
| iCloud Photos | Wireless access | Yes |
| iCloud.com | Downloading select photos | Yes |
| OneDrive | Automatic cloud backup | Yes |
For a huge photo library, USB is generally the simplest, most reliable route. For ongoing automatic access across devices, cloud storage wins on convenience.
If Your iPhone Isn’t Showing Up in Windows
Make sure it’s unlocked when you connect it.
Watch for the trust prompt and confirm it with your passcode if it appears.
Try reconnecting — unplug and replug, or try a different cable or USB port.
Restart both devices and try again.
Check for updates — outdated Windows or Apple software can sometimes cause compatibility hiccups.
Does This Work for Videos Too?
Yes, the same methods apply. Videos just take longer since they’re bigger files — for a large video library, a wired transfer is usually more practical than uploading and downloading everything through the cloud.
FAQ
What’s the easiest way to transfer photos from iPhone to Windows 11?
For a lot of photos, a USB cable and Windows’ built-in import is the simplest reliable option.
Does transferring reduce photo quality?
Not if you’re copying the original files directly — quality loss usually comes from compression, conversion, or services that shrink files automatically.
Can I transfer without a cable?
Yes — iCloud Photos, iCloud.com, OneDrive, or another cloud service all work wirelessly.
Why are my iPhone photos in HEIC format?
It’s Apple’s format for efficient storage while keeping image quality high — some Windows apps need extra support to open it.
Can I transfer my entire photo library at once?
Yes, depending on the method and how much storage your PC has. For a very large library, wired transfer is usually more practical than the cloud route.
Bottom Line
Transferring photos from iPhone to Windows 11 isn’t the hassle it sounds like. For a large batch, USB plus Windows’ import tool or File Explorer gets it done reliably. For a wireless option, iCloud Photos, iCloud.com, or OneDrive all work well. And if keeping the original quality is the priority, always transfer the actual file rather than a compressed copy — that’s the whole trick.